Buddy the dog, also known as Buddy girl, Buddy the girl, and good girl passed away. Buddy was 16 1/2 years old and the easiest dog we ever had. Rarely if ever did she need any instruction or correction, she also just knew what to do.
Frank found Buddy on Facebook at the age of 5. Her previous owner had to move and he wasn’t able to keep a dog Buddy’s size (which was pretty big). He wanted to make sure that she went to a good, loving home and we did our absolute best to give her that and more.
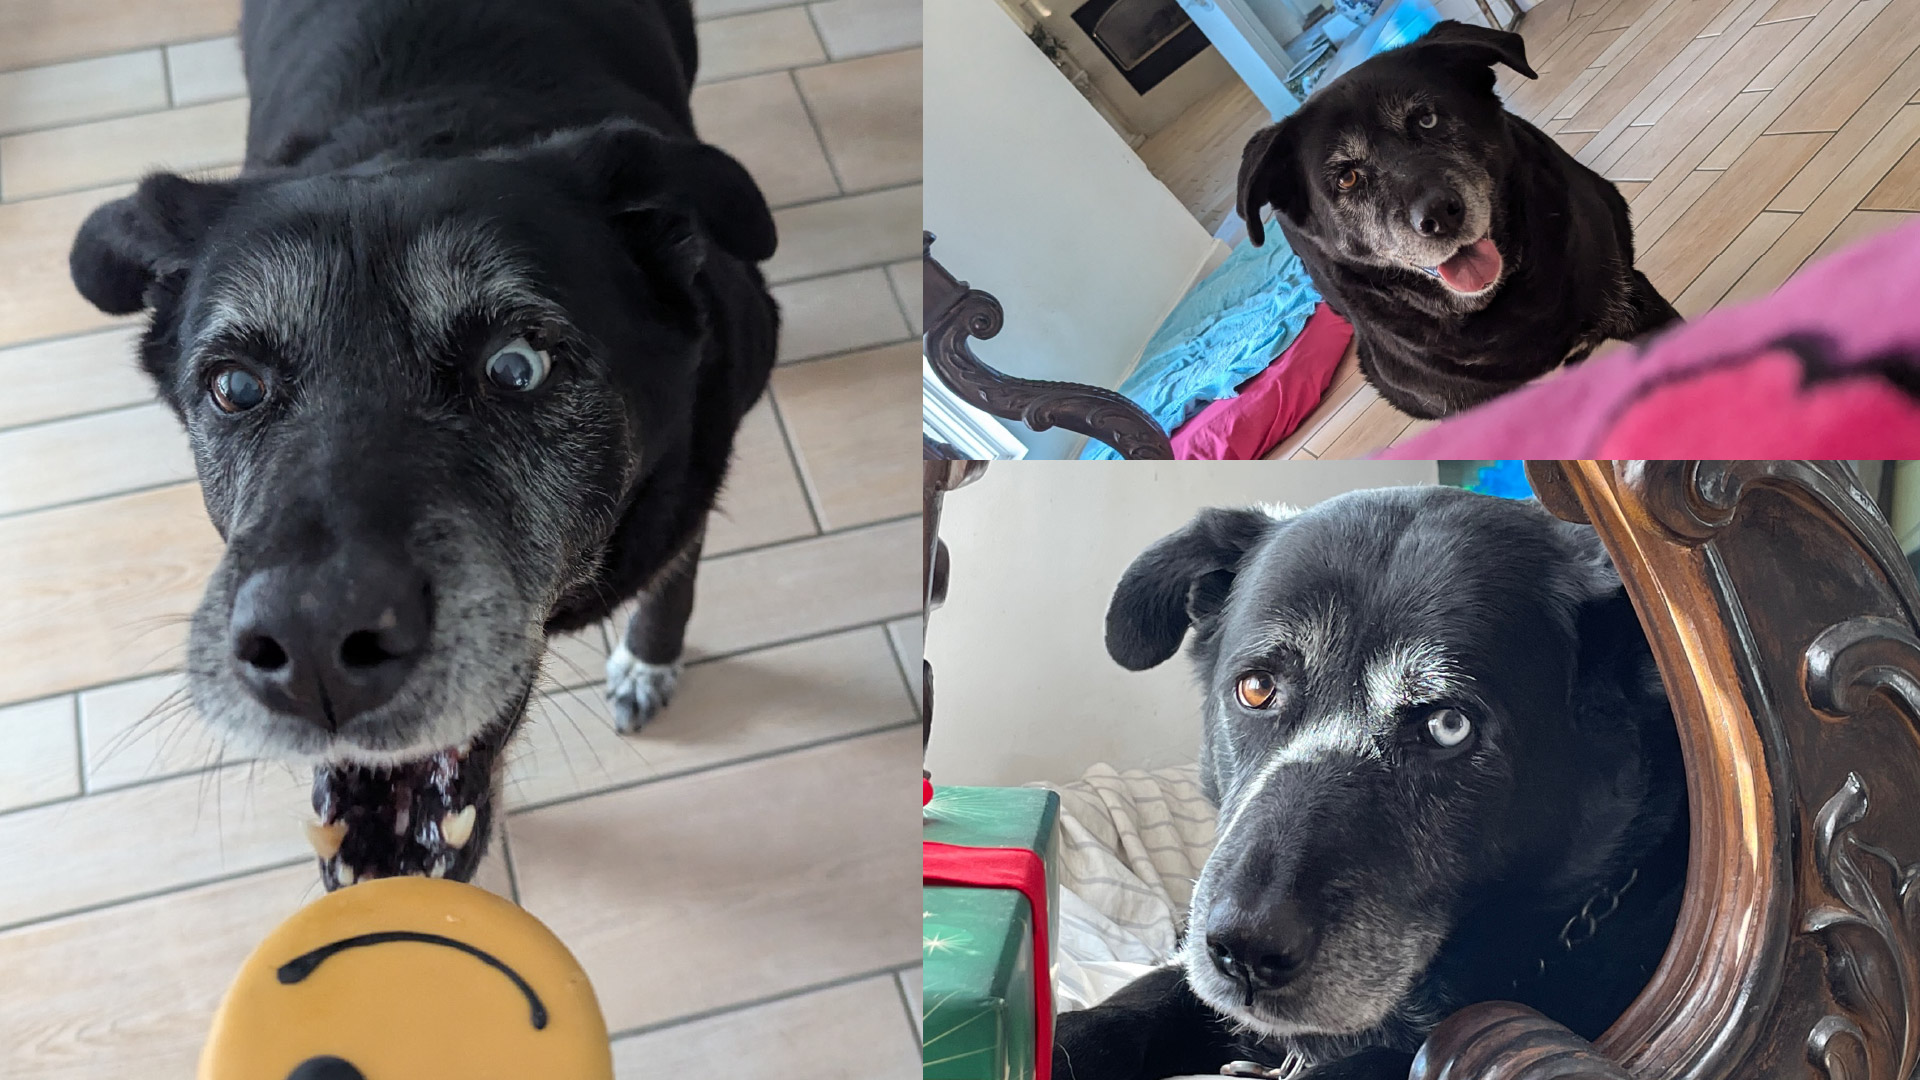
My very first impression of Buddy was how wide and dark she was. Her fur was jet black with a little bit of white on her one paw and her chest. Her most striking feature by far was her one blue eye. It was so blue it almost appeared to be pure white and that’s what pretty much anyone who met her would comment on.
Buddy’s favorite things were going for walks and eating treats. She was always up for a walk, regardless of weather or time of day. Pouring rain out, snowing, heat wave, none of this bothered her. She wanted her walk. When it was hot I would make sure to walk her early or later in the day and in the shade where possible, but besides that the elements would have to bow to her joy of the walk.
Our walks will be certainly what I will miss the most. As much as she loved her walks, I was just behind her (literally as she always took point). It was often the high point of my day too, we really were a great walking team.
She also enjoyed belly rubs, and any attempt to pet her she’d cleverly maneuver herself and your hand to rub that belly. You could start petting her head and within a few seconds somehow have your hand rubbing her belly. It was a true skill.
While Buddy never begged or attempted to steal food, my dad did eventually teach her the joy of treats. In time she had my parents fully trained to deliver kibble or treats whenever she demanded it. She was really running the show over there.
One thing that I will always be amazed by and thankful for was her longevity. She was a big dog and made it to 16 1/2 very happy years. In fact I think part of her secret was her happy personality. I don’t think she ever had a bad day in her life, stressed over nothing, and was just a happy dog who didn’t worry about human affairs.
While I will miss my Buddy very, very much I do consider myself the luckiest guy for having to have the honor of having so much time with her. She really was the best.
 After 166 hours and probably thousands of “You Died” screens, I am finally the Elden Lord!